AI
Machine Learning for Absolute Beginners: Build Your First Working Model in an Afternoon
Most machine learning tutorials open with matrices and lose you by the third paragraph. This one opens with a webcam. Over the next few hours you'll collect a few dozen photos, feed them to a free browser tool, and end up with a working classifier that can tell a mug from a phone. The math underneath is real, but you don't have to touch it yet — and seeing a model work before you understand it is a perfectly good way to learn.
What You're Actually Building
A classifier takes an input — here, an image — and returns a label plus a confidence score. It learns by example. You show it pictures tagged mug, keys, or paperback, and the training software nudges thousands of internal numbers until its guesses line up with your tags.
What it picks up on is rarely poetic: edges, color blobs, contrast patterns. It has no idea what a mug is. It has only noticed that the pixels in your mug photos tend to fall into certain shapes. That gap between "recognizes" and "understands" is the most useful thing to feel in a first project, and it's much easier to feel than to read about.
Pick a Project Small Enough to Finish
Two or three classes, objects you can hold in your hand, photos you can take yourself in ten minutes. A cup, a set of keys, and a paperback make a good first trio.
Avoid classes that look alike at low resolution. Two nearly identical pairs of black headphones will teach you frustration, not machine learning. Aim for a balanced set — roughly the same number of images per class, somewhere between forty and a hundred each. Variety matters more than volume.
Collect and Sort Your Images
How many is enough?
Start with forty per class. If your first test run looks shaky, add images rather than fiddling with settings.
What makes a good image
- Vary background, angle and lighting. Photograph the mug on a desk, on a windowsill, in a dim room.
- Include the messy cases: a hand holding the object, a partial view, two objects close together.
- Skip near-duplicates. Fifty burst shots of the same pose behave like one photo.
- Set aside a test set from the start — about one in five images. Keep it in a separate folder and never train on it.
- Shoot at modest resolution. Small files train faster and lose very little.
Train It in the Browser
Open Google's Teachable Machine in a browser tab. There's nothing to install, the core tool is free, and it's built for exactly this kind of first attempt.
- Choose Image Project, then Standard image model.
- Create one class per object and give each a clear name.
- Upload your training images from the folders you sorted. Webcam capture works too, but it makes a clean test set harder to keep.
- Click Train Model. Depending on how many images you brought, this takes seconds to a couple of minutes.
- Test in the preview panel by holding up an object in front of your camera.
When you're satisfied, use Export Model to download the files or grab a shareable link. That link is a genuine working model. It's small, not fake.
Test It Like a Skeptic
Your first result will probably look impressive. Treat that with suspicion. Test with objects and conditions that weren't in the training set: a different mug, a badly lit shot, the object half-hidden behind your hand. If accuracy holds, good. If it collapses, that isn't failure — it's the actual lesson of the afternoon.
The usual causes are thin data, classes that overlap visually, or a test set that accidentally resembles the training set. Look at which class gets confused with which. "It thinks the keys are the phone" tells you something specific. Fixes are almost always data fixes: twenty more varied photos beat any slider you can drag.
A Ten-Minute Look Under the Hood
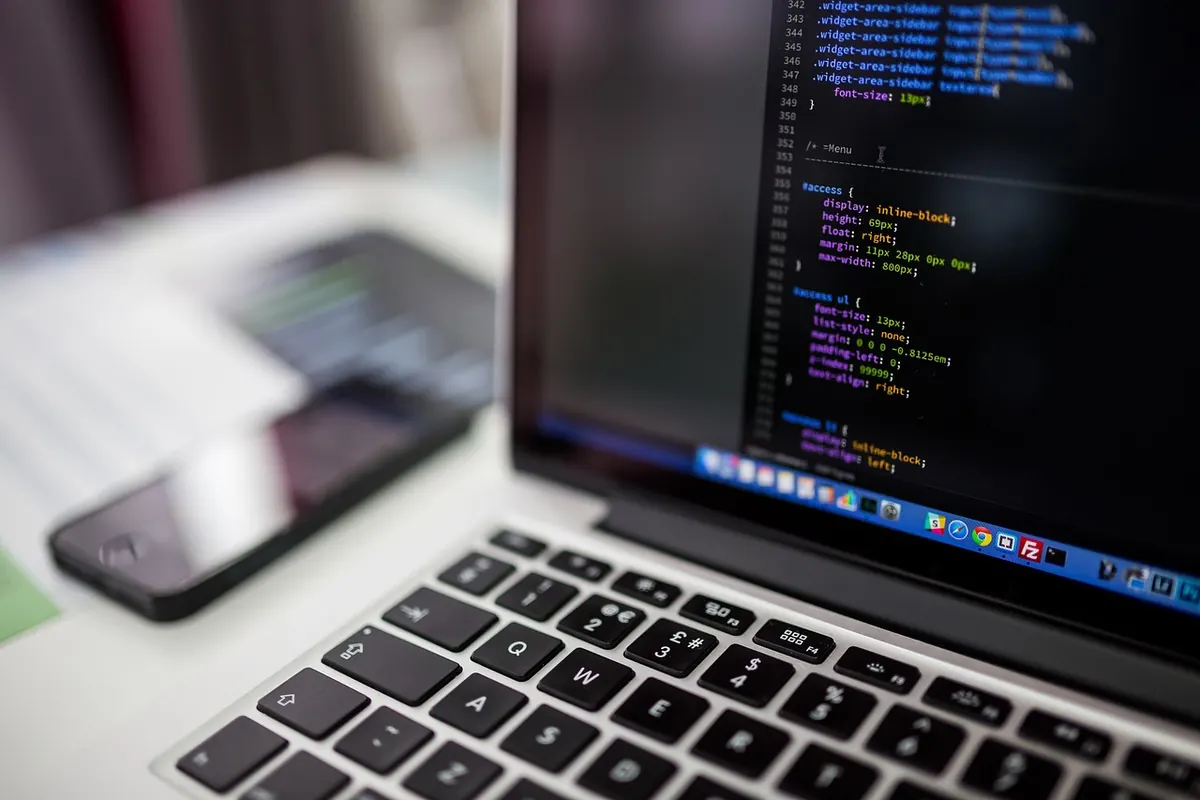
If you'd like to see the code version, open a notebook in Google Colab. It runs in the browser on a free tier and needs no setup. Scikit-learn ships a small handwritten-digits dataset you can load with a single line. Split it into training and test portions, fit a simple classifier, print the accuracy score.
Four lines, under a minute, and you've done the same job the browser tool did: examples in, predictions out, measured on data the model never saw. That train-and-test split is the heart of the whole field. Everything else is scale, architecture and patience.
Common Beginner Traps
- Training and testing on the same images. The resulting score tells you nothing.
- One class with twice as many photos as another.
- Assuming a high score generalizes to the real world.
- Changing five settings at once, then guessing which one helped.
- Deleting the dataset. Keep the folders; you'll want to compare against them later.
After the Afternoon
A realistic time budget: twenty minutes gathering photos, ten sorting them, five training, fifteen testing and tinkering, ten optional in Colab. That's an hour, not a semester.
Keep your dataset and write three lines about what worked. Next time, swap in a harder trio of classes — three similar houseplants, say — and watch how the failure modes change. Then, when curiosity about the numbers finally shows up, it will have something concrete to attach itself to.
Photo: StockSnap / Pixabay
Related Articles